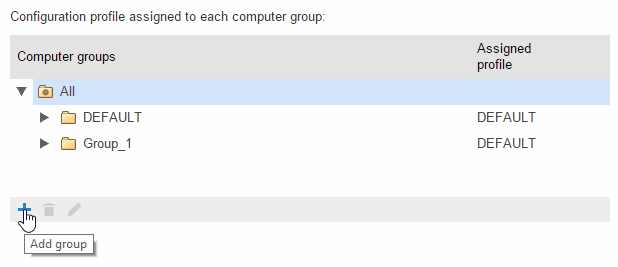
Click the Settings tab.
Click
the  icon.
icon.
Endpoint Protection lets you group a series of computers together, and apply the same protection profile to the whole group.
Manual groups contain computers that have been manually added or moved to them (using the Move option in the Computers window).
For more information, refer to the Moving computers to a group section.
Automatic groups contain computers that have been automatically moved to them based on their IP addresses.
Bear in mind that once you have created a group you won't be able to change its type.
Click the Settings tab.
Click
the  icon.
icon.

Enter the name of the group and select the protection profile to assign to it. Remember that you cannot have two groups with the same name on the same level.
In Group type, select Manual.
Click Add. The group will be automatically added to the group tree displayed in the Settings and Computers windows.
To edit a group, select it and
click the  icon. You can assign the profile of your choice to the group you have
just created.
You can only create an automatic group if the Group restrictions option in the Preferences window is disabled.
The group creation process is the same as for manual groups, the only difference being that you must select Automatic (arranged by IP address) in Group type.
Click Add. A window will be displayed to edit the automatic group. Configure the rules to apply to the group.
You can configure them manually or import them from a .CSV file.
Click Import.
Enter the name of the file or find it using the Select button.
Click OK. This will generate the relevant group structure based on the IP addresses assigned to computers.
Click the  icon.
icon.
Select the profile to assign to the group.
Enter the IP addresses or IP address ranges of the computers to add to the group.
Click OK.