Click Install.
Once installed, open the app. Go back to the Web console and select the group to install the protection on.
Click Add this device to the group. The process to add the device to the console will start.
Select a name to identify the device in the console.
Click Continue and enable the necessary permissions to enable the Anti-Theft protection (only if you have or licenses).
In this case the protection is installed from the Android device, through an installation URL sent by email.
In the Web console, select the group to which you want to add the device (the Default group is selected by default). Click Send by email.
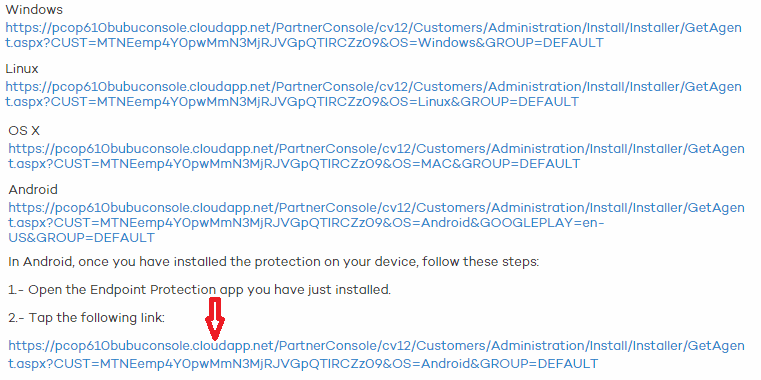
End users will automatically receive an email message with two URLs. The first one is the installation URL. Clicking it will take the user to the page in Google Play to install the protection.
Once you have installed the protection, open from your device and click the second URL included in the email.

Enter a name to identity the device in the Web console, click Continue and enable the necessary permissions to enable the Anti-Theft protection.
To use the Anti-Theft protection, you need to have or licenses. If you don't have licenses of these products, contact your usual reseller.
After completing these steps, you will have finished the installation and integration processes. The device will appear on the list available in the Computers tab, in the group you selected.