The Settings window provides an overview of the protection profiles you have configured, the groups you have assigned those profiles to and the restrictions set for each group. That is, it offers a summary of the protection settings.
The Settings window is divided into two sections: The right-hand side displays a list of all available profiles, and the left-hand side displays the computer groups and the profile assigned to each of them.

Click the + symbol next to the profile list in the Settings window to access the Edit profile window. From there, you will be able to start configuring the different protections for the profile.
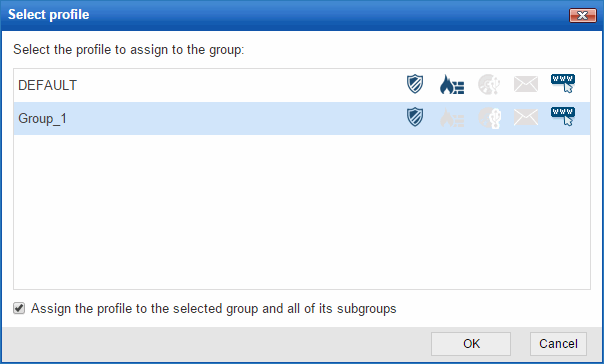
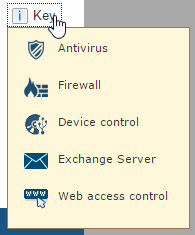
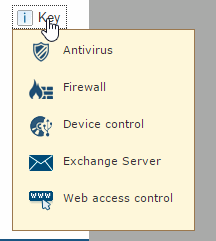
The icons next to each profile name indicate the protections included in the profile in question:
Click Key to see what each icon represents.
Use the  icons to copy and/or delete a profile. These icons are displayed when
moving the mouse pointer over the profile name. More
information on how to copy profiles.
Click a profile's name to access the Edit profile window from which you can modify its settings. More information on how to edit profiles.
The information is structured in four columns:
Computer groups
Assigned profile
Max. no. of installations
Expiry date
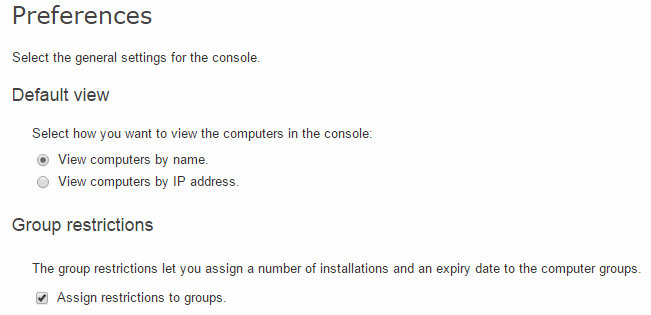
The latter two will only appear if you have selected the Assign restrictions to groups option in the Preferences window.
As a general rule, to change a group's profile from the Settings window, click the Select profile icon next to the profile name.
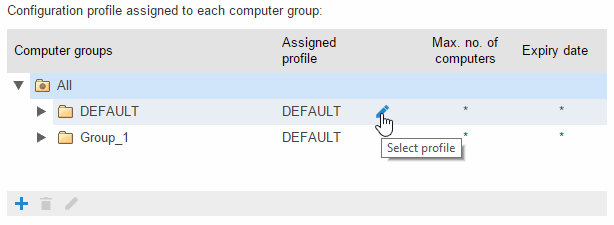
Then, in the Select profile window, select the new profile and click OK. Check the relevant checkbox if you want to assign the selected profile to the subgroups of the selected group as well.
