This uninstallation method is only available for Windows computers.
The remote uninstallation feature allows administrators to uninstall the protection simply and effectively from the Web console, without having to physically go to each computer. This type of uninstallation therefore saves on costs and legwork.
This option is not available for Linux computers.
The first step is to create and configure an uninstallation task. To do that, the administrator must select the group and the computers in the group whose protection will be uninstalled. After the process is complete, they will be able to check the results of the uninstallation task.
In the main console window, click Installation and then Uninstallation in the menu on the left.
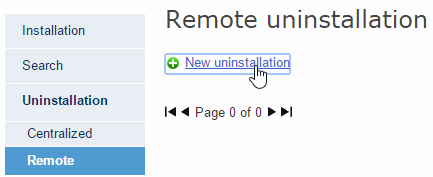
Select Remote uninstallation. This will take you to the Remote uninstallation window.

To create uninstallation tasks the user must have total control or administrator permissions. For more information, refer to the Types of permissions section.
To create a new uninstallation task, click New uninstallation.
In the Edit installation window, name the task and select the group of computers whose protection will be uninstalled. The groups displayed will be those on which you have permissions.
If you select the option Restart the computers on finishing uninstallation, remember to save all the information that is being used on the computers.
If the selected group has a configuration profile for which an uninstallation password has been set, enter it in the Password field.
Select the computers from the computer list available on the Available computers tab, and click Add. After you select them, they will appear on the Selected computers tab.
To see the results of any of the remote uninstallation tasks configured, go back to the Remote uninstallation window.